 |
|
||||||||||||||||||||||||||||||||||||||||||||||||||
 |
Sewn Hinges
Follow the thread...
Présentation : Charlie Fite
Sewn hinges have been around for a long, long time. It is said that that they originated in the late 1930’s with the introduction of control line airplanes and were basically the only choice for hinging the control surfaces.
Nylon pinned hinges weren’t introduced until the 1960’s, when plastics became more available, and Dewey Broberg formed Du-Bro. Since then, all types of pinned, wafer, post, and even CA hinges have become popular. I’ve used them all until I built a 1917 Eastbourne as close to scale as I could manage. I went back to my early days of building and flying control line airplanes, and the first method I used to hinge the control surfaces.
Since then, every balsa aircraft I’ve built (close to 50) has had sewn hinges on the ailerons, flaps, elevator, and rudder. With a little practice, they’re not that hard to do, they are self-aligning, self-centering, almost frictionless with 180° of throw, require no special tools, and they are really, really inexpensive. There is also almost no gap at the hinge line, which all but eliminates the possibility of flutter. I’ve tried all kinds of thread (Nylon, Rayon, cotton, and silk to name just a few), all with varying degrees of success. Then I discovered Spider-Wire, a braided, flat wound Dyneema fishing line with Flouropolymer coated fibers. It is the strongest “thread” for its diameter, it lies flat, and a 125 yd spool of 6 lb test will last forever.
For the purposes of this article, I used a heavy rayon thread so that you could see the “braid”.
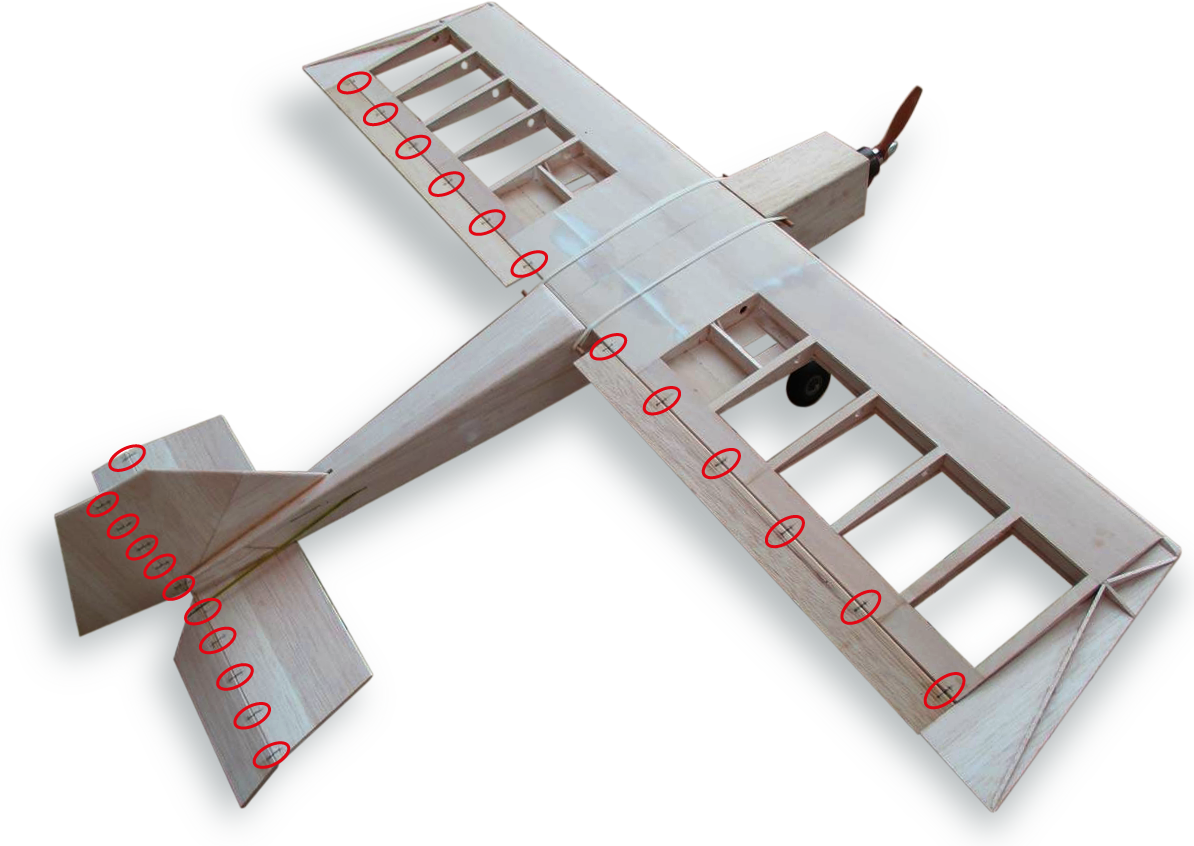 |
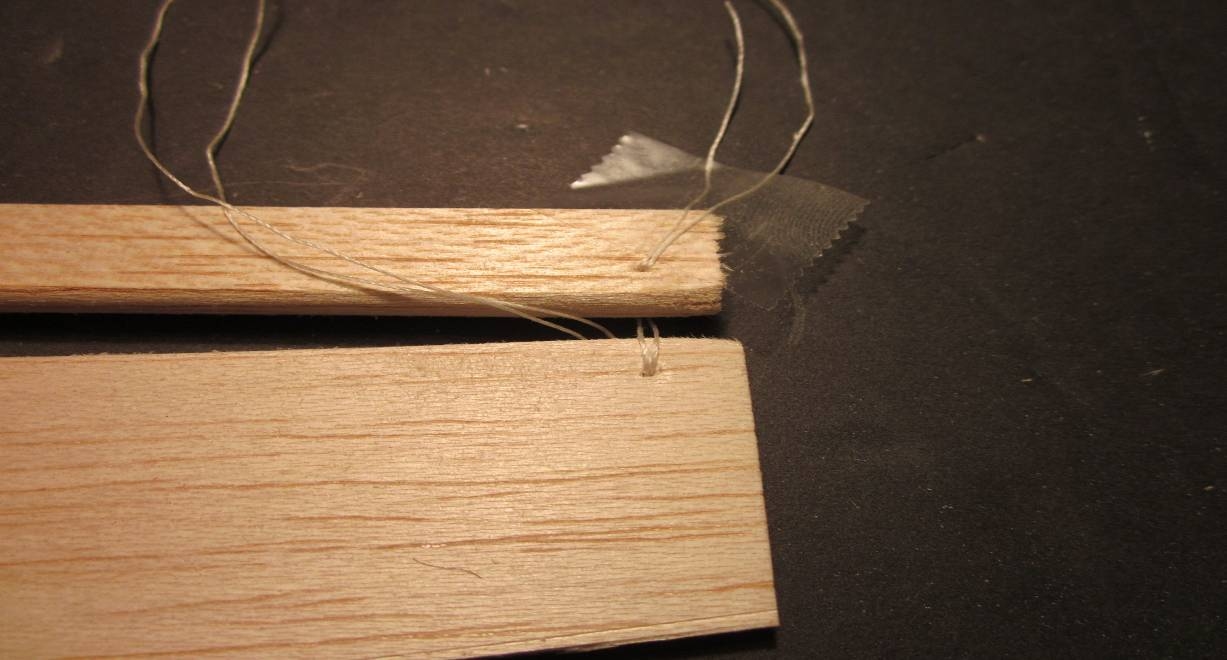
| The first thing I do is locate and mark where
the hinges will be. |
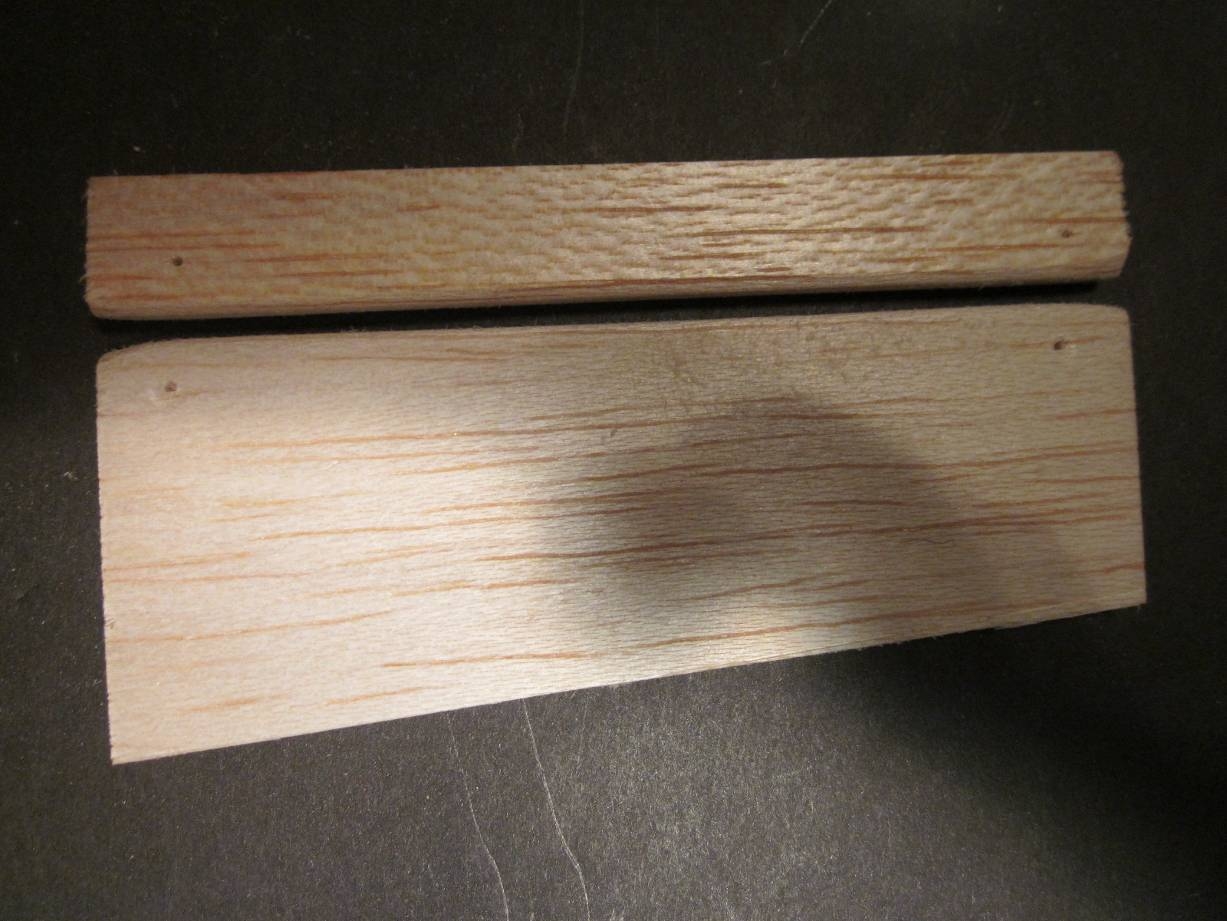 |
Then I drill a 3/64” hole, at least
1/4” back from each edge. |
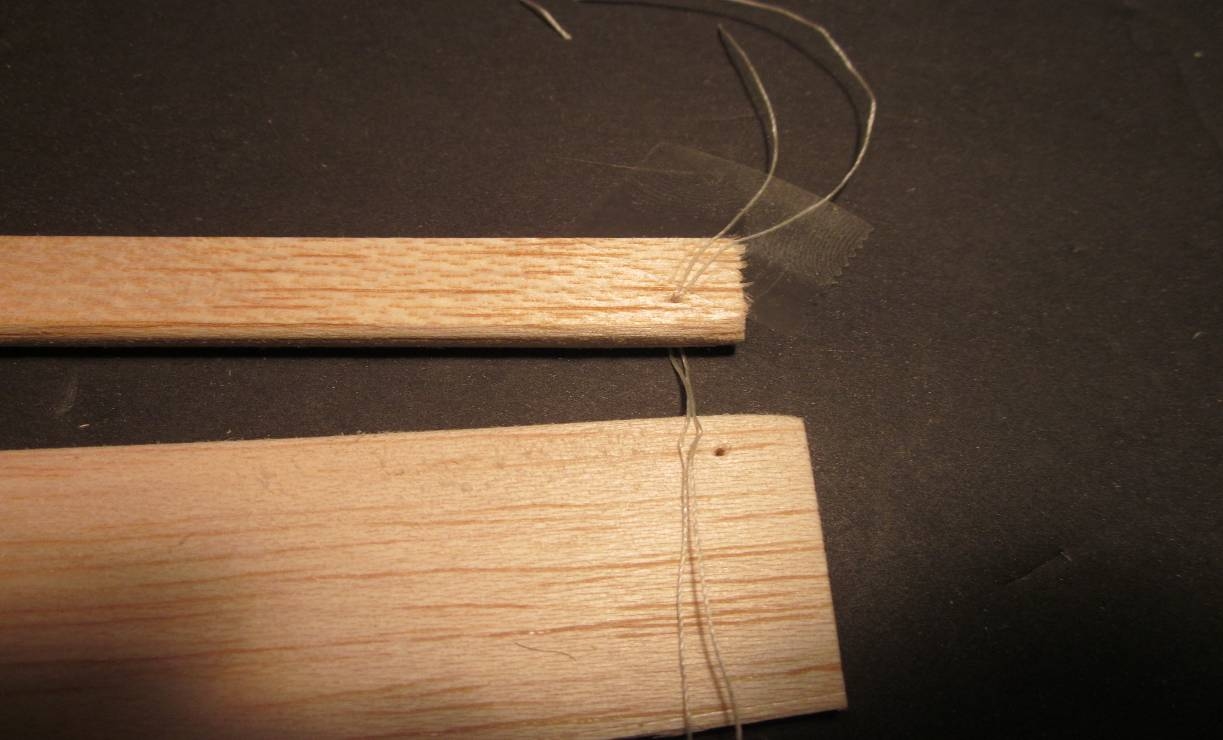 |
| Next, I’ll tape the tag end of the thread to one of the surfaces near the hole. Then push the needle down through the hole… |
 |
| And come back up in the gap between the surfaces, then down through the adjacent hole…and back up through the gap... |
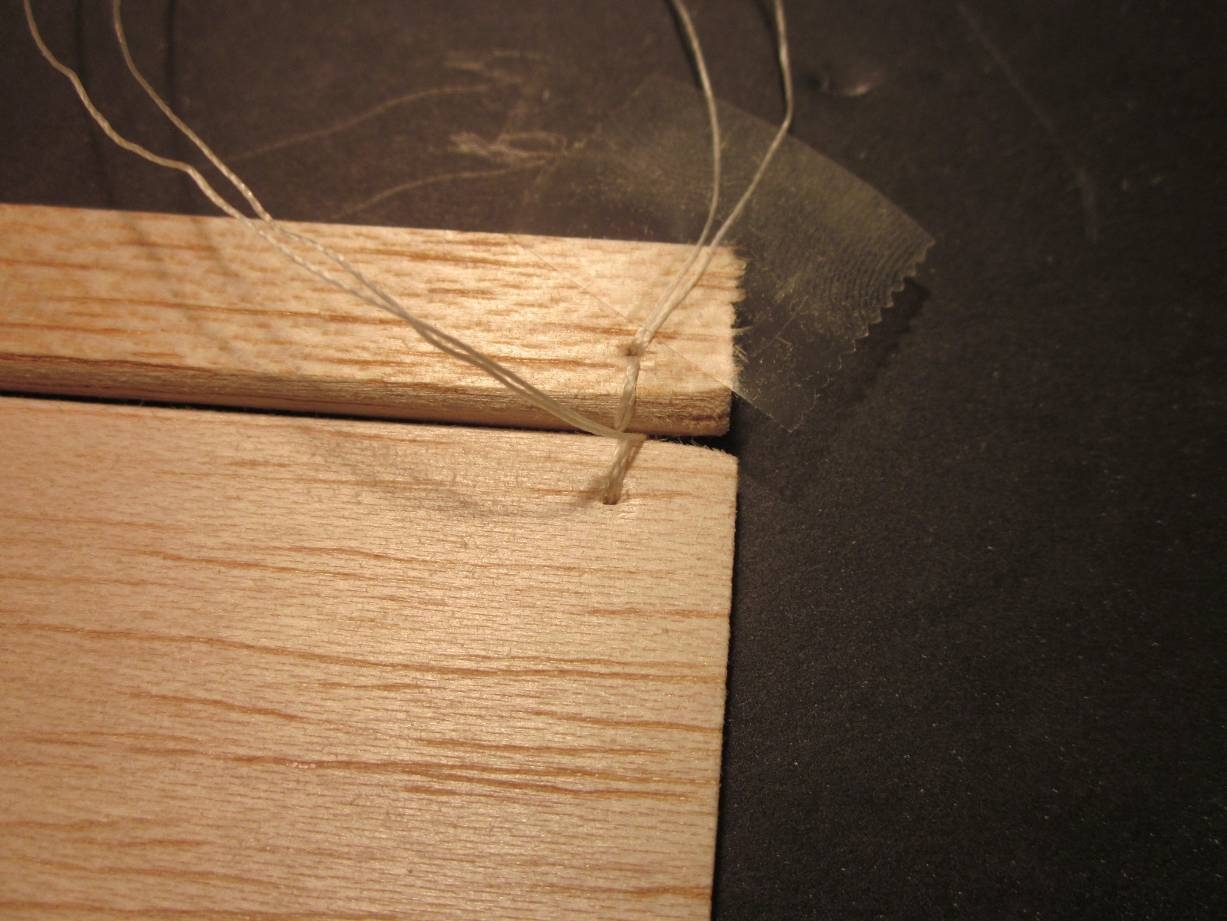 |
Down through the first hole, and back up
through the gap... forming a figure 8. |
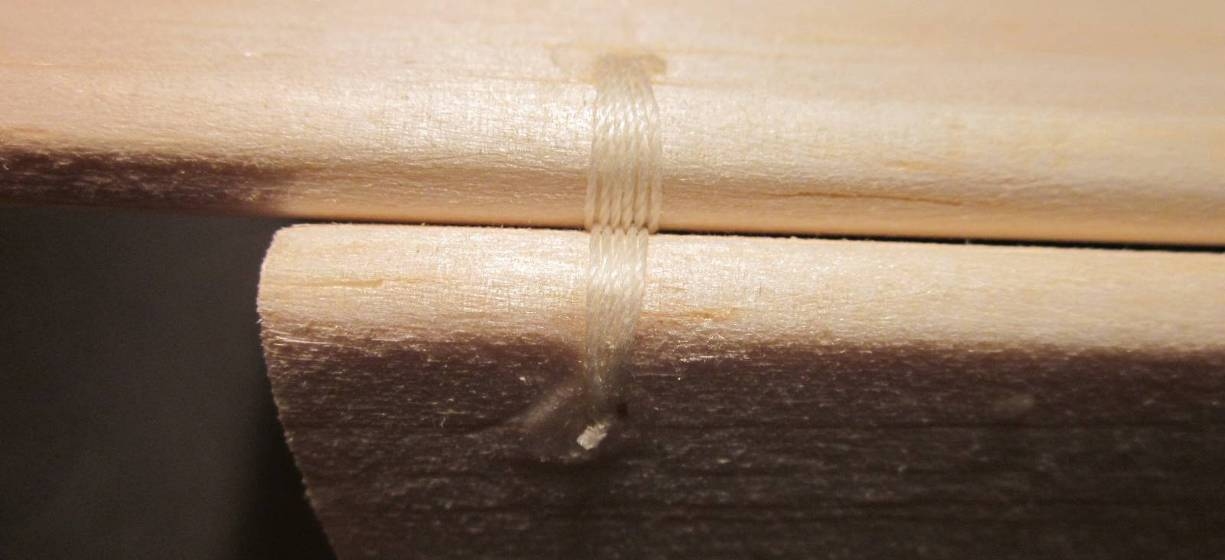 |
| I keep repeating this process until I have at least (6) “figure 8 laces”….pulling each lace tight. |
A drop of CA at each hole secures the ends, eliminating the need for a knot. Then I trim the tag ends flush.
Repeat the process for each pair of holes, and each control surface.
I’ve added one step. I’ll take a triangular shaped file and cut in a shallow notch at each hinge point so that the thread is flush with the surface. It takes a bit longer, but the hinge won’t show beneath the covering. You also end up with zero gap.
That’s all there is to it...
Contacter l'auteur : Charlie Fite
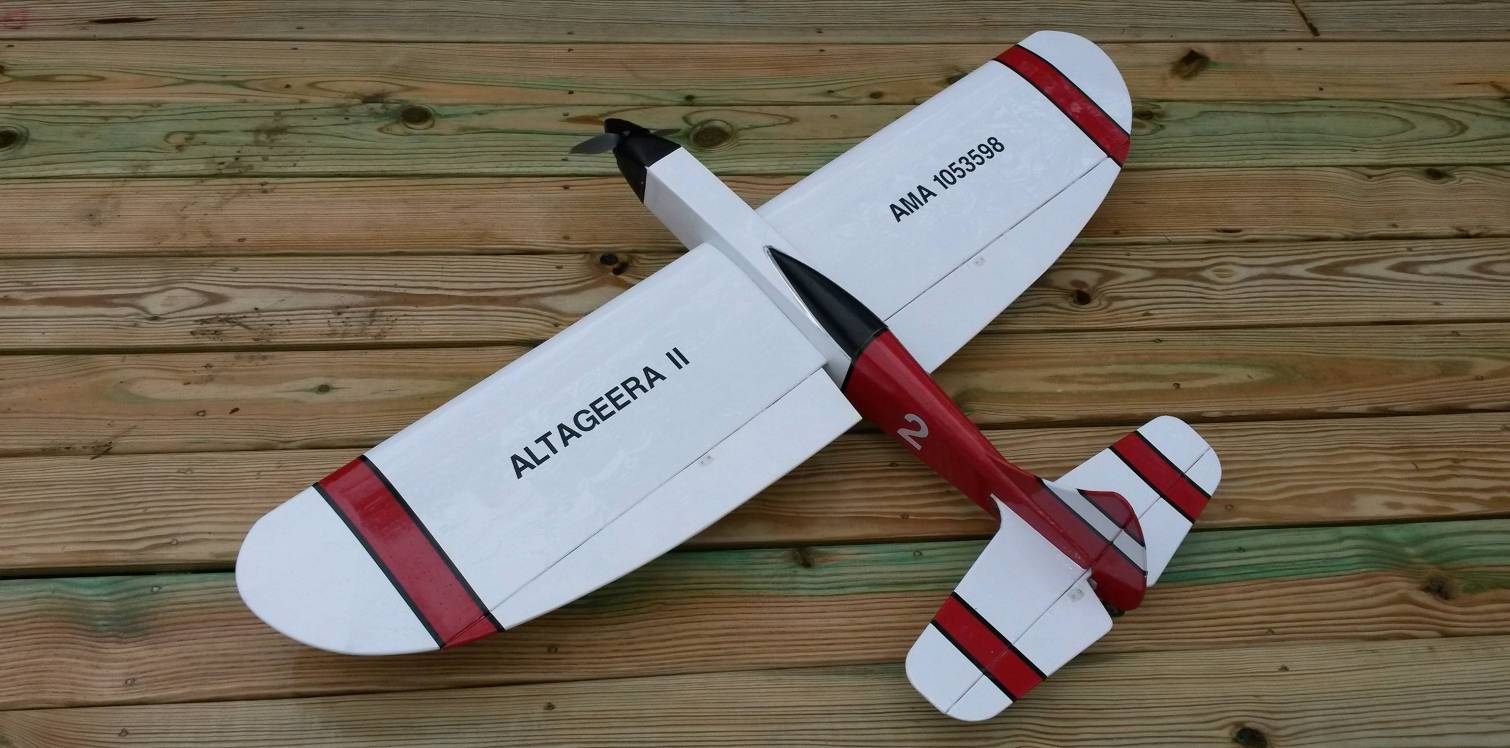 |
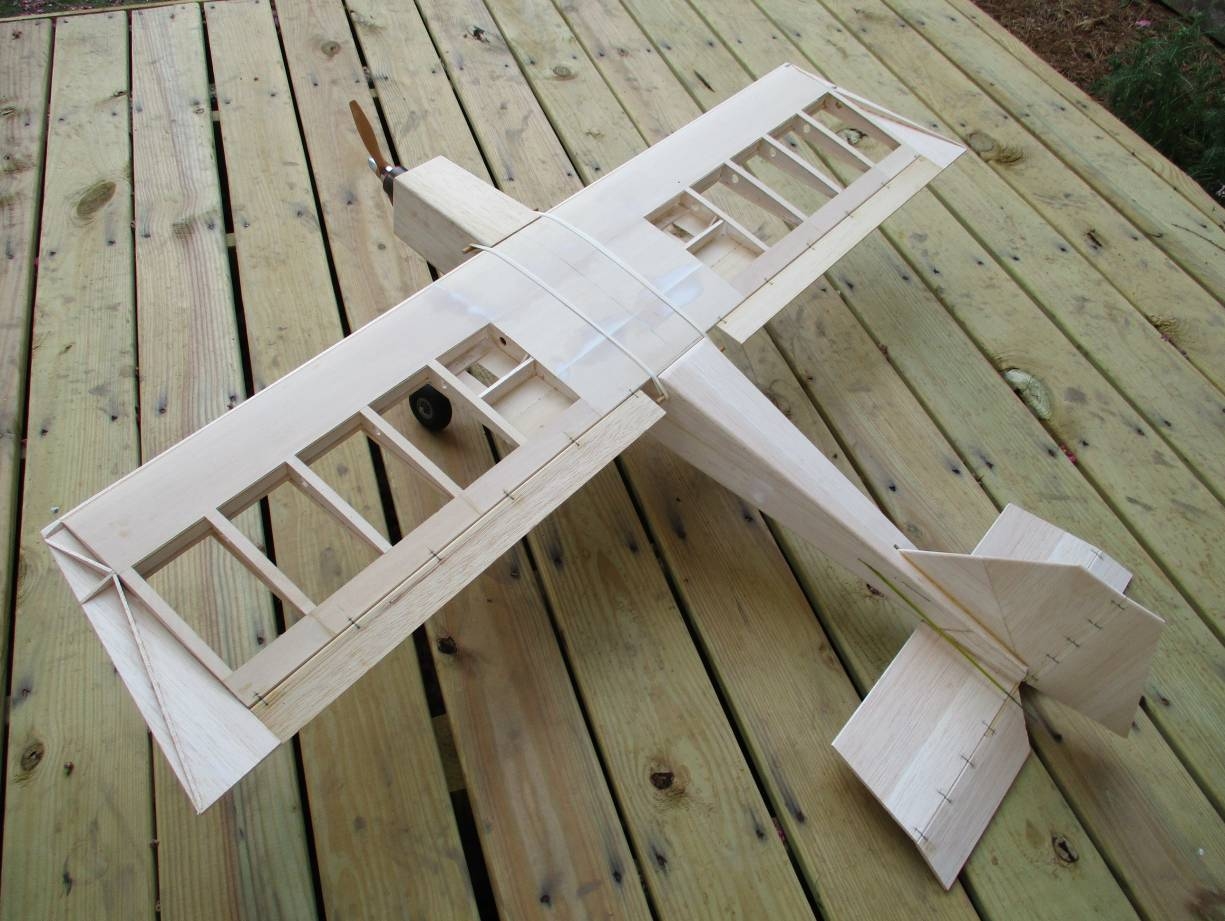
| Here’s a finished bird. Y’all
keep your nose up in the turns. |
|
|
|||||||||||||||||||||||||||||||||||||||||||||||||